Pipedrive Integration: Trigger Handwritten Notes from a Pipedrive Automation
Trigger handwritten cards from Pipedrive automations.

Pipedrive is a web-based customer relationship management (CRM) tool that helps businesses and sales teams manage their sales and track their progress.
It offers sales management (prioritizing tasks, updating deals, and monitoring progress), pipeline management (creating sales funnels and streamlining pipeline management), sales forecasting (predicting how likely customers are to convert to the next stage) as well as lead management (tracking leads and prospects).
Pipedrive users can now use Automations to automatically trigger IgnitePOST handwritten cards to contacts at specific points within a workflow.
Read on for more details on how to leverage this feature to send highly personalized handwritten note campaigns from any point within a Pipedrive automation.
1. Log in to your IgnitePOST Account
If you don't have an IgnitePOST Account yet, click here to create a FREE account. Once logged in, navigate to the 'Letter Templates' area by first clicking on the 'Letter Templates' link at the top of the dashboard and then click the orange 'Create Letter Template' button.
We're going to create a letter template on IgnitePOST using the letter template designer. Once you have created a letter template on your IgnitePOST dashboard, we'll move over to Salesforce and show you how to trigger it.

2. Use the IgnitePOST Letter Template Designer to design your handwritten card
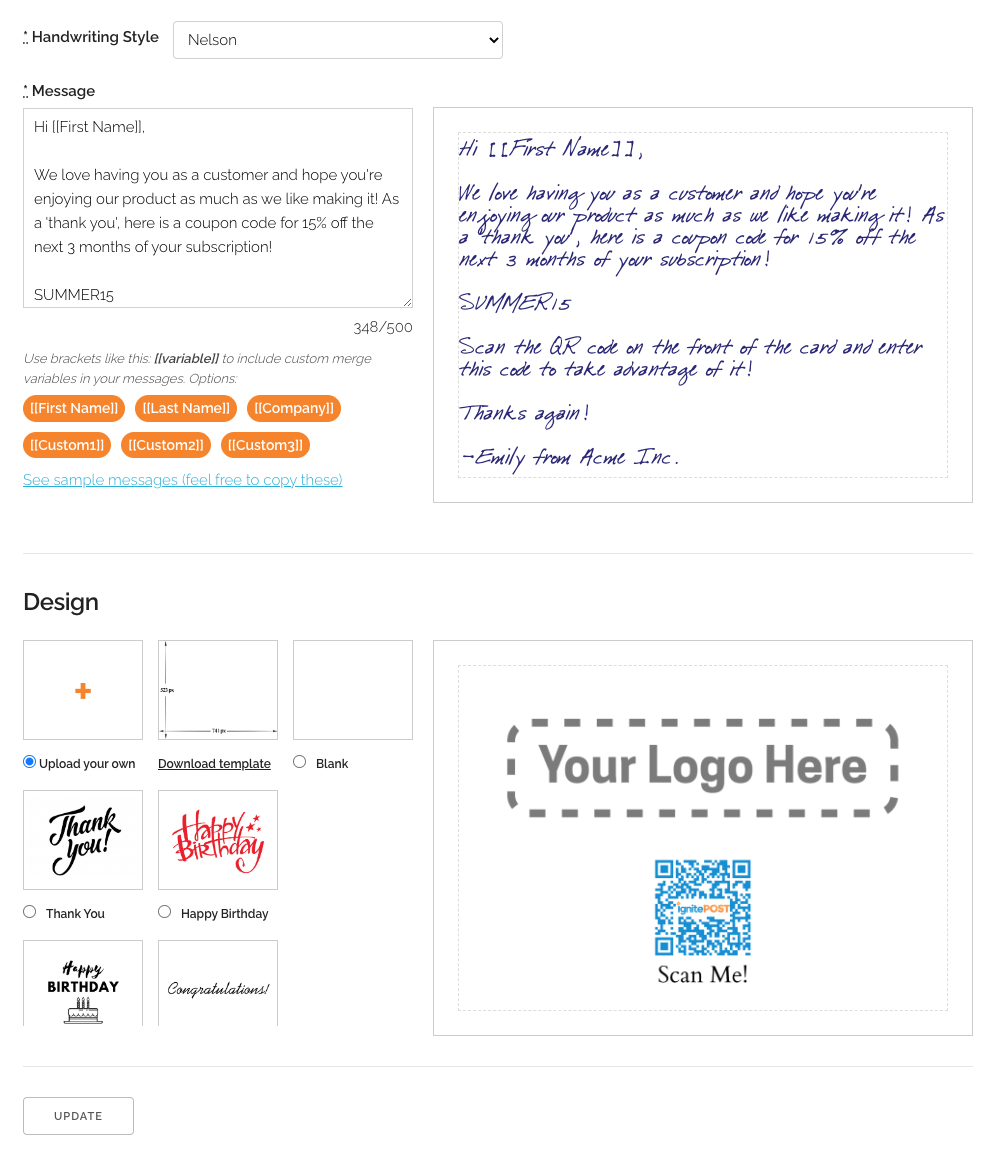
First start by giving your Letter Template a descriptive name. This is for your internal use only, but since you can create as many Letter Templates as you want, it's a good idea to give each one a descriptive name.

3. Fill in Default Values
Fill in the default values you wish to use for your Return Address as well as card message. Since there is a limited space on the cards, we recommend typing out your card message here, where you're able to see a preview of the message and ensure it will fit on the card. Remember, when you trigger the handwritten card from your workflow, you can overwrite every part of the card. However, using the designer here is the easiest way to set the card up first.

4. Select your Card Image
Select the card image you wish to use on the front of the card. You can choose an image from our card image library, or you can choose to upload your own image! Once you are happy, click the 'Create' or 'Update' button to save your letter template. Once you have saved your template, make a note of the template ID.

5. Create your IgnitePOST API Key
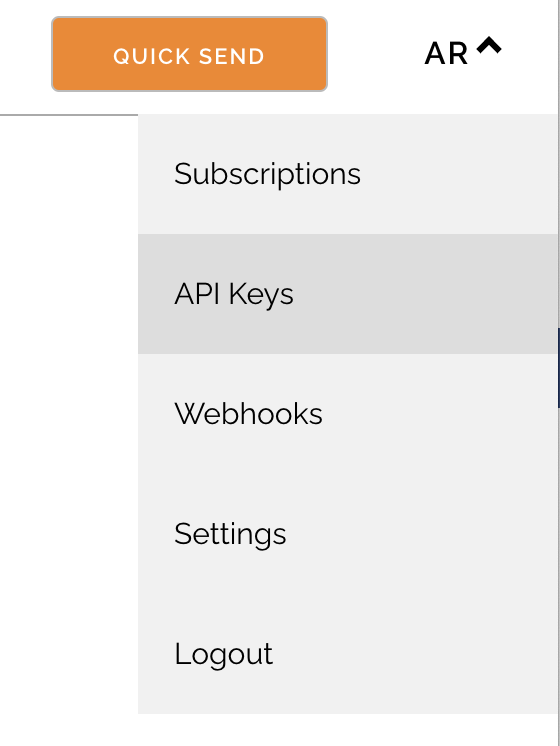
In your IgnitePOST Dashboard, hover over your initials in the top right, and then click 'API Keys'.

Name your API something descriptive and make a note of this key. You'll need this key later to connect your Pipedrive integration

6. Trigger your Letter Template from Pipedrive
Now that you have your letter template set up, let's head over to Pipedrive and trigger that letter template at the appropriate time. To do so, log in to your Pipedrive account and navigate to the Automation where you would like to trigger your handwritten letter (or create a new Automation from scratch).
Click the plus "+" icon to add an action where you'd like the handwritten card triggered.
If the object in your Automation is not a Person (e.g. it's a Deal in Pipedrive), we'll have to enhance that data with information from the associated Person object. To do this, in the 'Actions' menu, select "Person" and then "Update Person Fields" and click 'Next'.
Here, you want to select the Person object associated with the object that is going through your automation

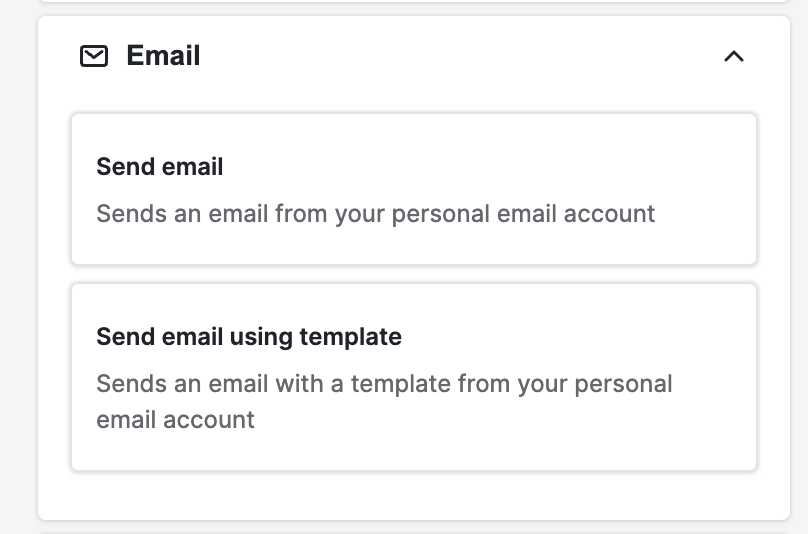
Next, click the '+' icon and then select 'Action' -> 'Email' -> 'Send Email', and click 'Next':

Enter 'Operator[at]ignitepost.com' as the recipient email. The subject of the email should be the word 'handwritten':

In the message body, use the template provided below to copy and paste into the message body. Once you have done this, fill in the variables between the square brackets with the correct custom values from Pipedrive

7. Save & Publish the Action
Make sure to click 'Apply Action' and then save the automation as well as toggle the 'Active for me' switch to 'Active':

You can now test the automation by performing whatever action trigger you've set up to get a contact into the automation. When this happens and you send a contact down the Automation, IgnitePOST will email you a preview of what your handwritten note would have looked like if your API key was in "Live Mode" instead of "Test Mode". Feel free to test out your workflow as much as you'd like and make sure the correct variables are being pulled into your messages.
8. Turn your IgnitePOST API to Live Mode
After your workflow is set up and published, the final step is to turn your API key into 'Live Mode'. Only an IgnitePOST Support Representative can do this for you, so when you are ready, please email "support[at]ignitepost.com" and request that your API be switched into Live Mode.
From here, your automation is live and ready to be used! Any time a contact reaches this point in your Automation, a handwritten card will be written and mailed!
Happy Mailing!
Read more insights
-min.png)
Get expert insights for real mail campaigns
Everything you need to launch, run and scale handwritten card mail campaigns. Subscribe today!


Ready to create your first magic moment?🚀
Start using IgnitePOST today. It's free to signup!
No contracts, no commitment and unbelievable support.
.svg)


.png)